The idea to build these tomato cages came while watching a garden show on TV. I can't remember exactly which show it was but that doesn't matter because we changed up the design slightly and modified the building process.
We used old wood from previous demos here at 'The Gear'. Our stash of old wood is now reduced to small pieces and plywood. Either we need to tear something down or we will now have to resort to actually buying wood for our projects.
First step was to buy a roll of fencing. This will determine the measurements you use to cut all your wood. Remember to buy fencing with large openings that are big enough to get your hand or a large tomato through the opening.

We cut sections of the fence into lengths that were 4 squares (openings) wide. This made the sides of the cage about 20 inches wide. This particular cage will house pole beans so we are making it twice the height of the fence.
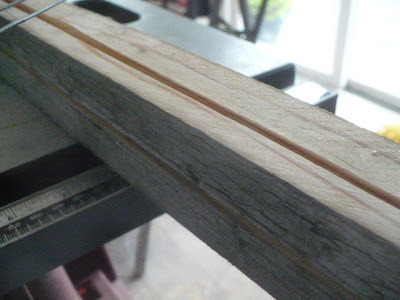
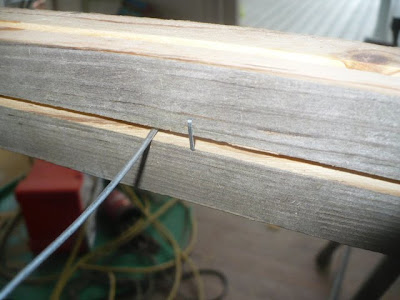
We ripped used lumber into roughly 2 x 2 lengths using the table saw. The TV show ripped a groove down the middle of the 2 X 2 so that you could insert the fencing. We did that for this cage be will modify all future cages to omit this step and just use double pointed staples to hold the fence in place.

We found that the groove did not entirely hold the fence in place and that a staple was needed to keep the fence from slipping out of the groove. So if you are going to use staples anyways why bother with cutting the groove in the first place.

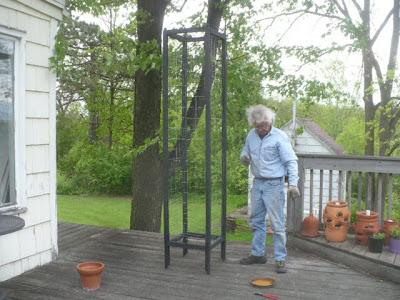
I painted the sides using flat black spray paint so that it would hopefully look like black iron. I would suggest painting the wood before assembling but I was unable to because it has been raining and I wanted to spray paint outside.


Once we had the cage fully assembled and painted it was time to guild the lily. In my attempt to make the cage look like it was assembled out of wrought iron I felt I needed some sort of ornamentation on each corner. So I used a doll head. Say what!!!!???? Yup you read that right a doll head.

I went to Michael's Craft store and bought little round wooden balls that they use as doll heads. They worked great because they were flat on one side and were predrilled. I drilled the hole completely through and inserted a nail. I could have used a doubled threaded stud but they are rather expensive and I wanted to keep this project on the cheap side. You could also use old wooden drapery finials or really anything that is interesting and would hold a coat of paint. Wouldn't a small bird look cute perched on the top of the cage?

Once the wooden balls were installed I squirted them with some flat black paint and we were done. We will make two more tall cages for pole beans and 5 short cages for tomatoes.

I think these cages could also be planted with a climbing rose or maybe clematis plants. They are definitely more visually appealing than the standard wire tomato cages. This would be a great winter project but unfortunately I didn't get the idea until a month ago. Oh well, C'est la vie (such is life).

